前情提要
手头上有一块64GB的固态硬盘(型号为威刚SP900 64GB),在某个时间突然不能使用了。通过diskmgmt.msc来重新格式化会显示“指定不存在的设备”,怀疑是主控的固件掉了。
解决固件的问题需要了解固态硬盘采用的主控,根据主控来确定对应的开卡方案。
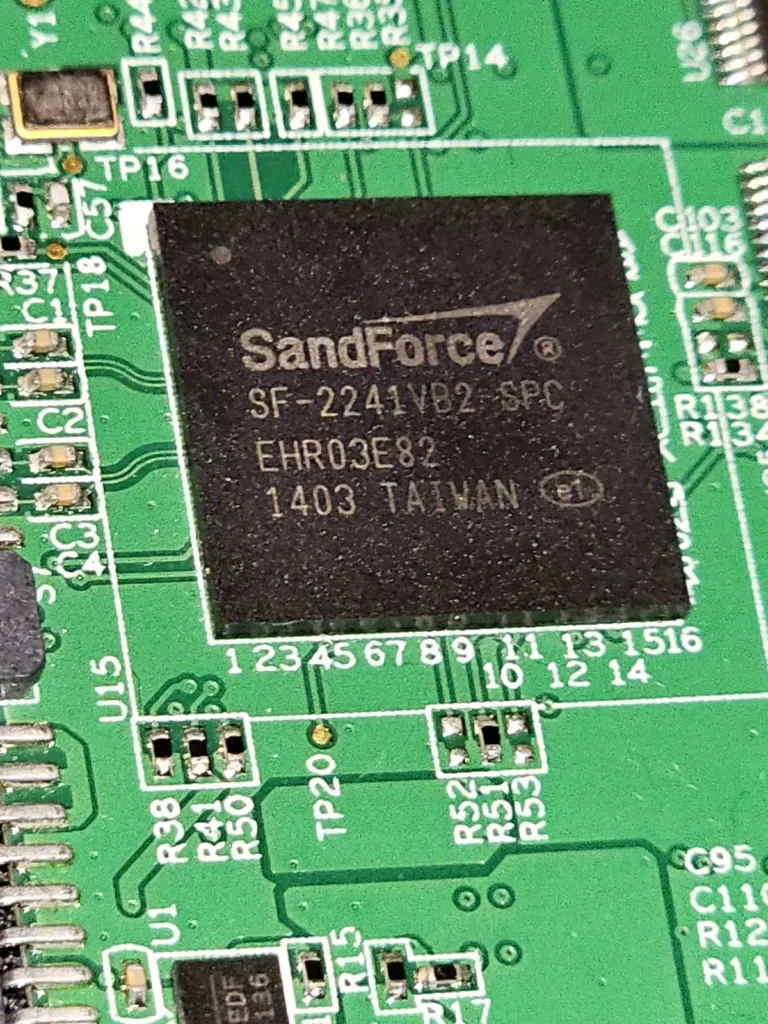
拆开外壳后,了解到主控的型号为 SandForce SF-2241VB2-SPC
确定了主控型号就可以知道开卡所采用的软件和方案了。以下是开卡的记录。
开卡记录
需要的物品
- 一台电脑(笔记本或台式机均可)
- Windows系统 (采用虚拟机) / CentOS 7系统 (采用实体机)
- VMware Workstation软件(如果是Windows系统采用虚拟机的方式):点击此处下载
- CentOS镜像:点击此处下载 / 打开文件页面
- USB硬盘盒(其芯片型号最好是ASM1153E,并确保供电充足) / SATA直连(如果采用物理机安装CentOS 7系统。理论可行,未经验证)
- 回形针或导电物体(需要对两个孔进行短接)
- 开卡ID支持列表:点击此处下载
本次记录采用虚拟机方式进行。
建立CentOS虚拟机
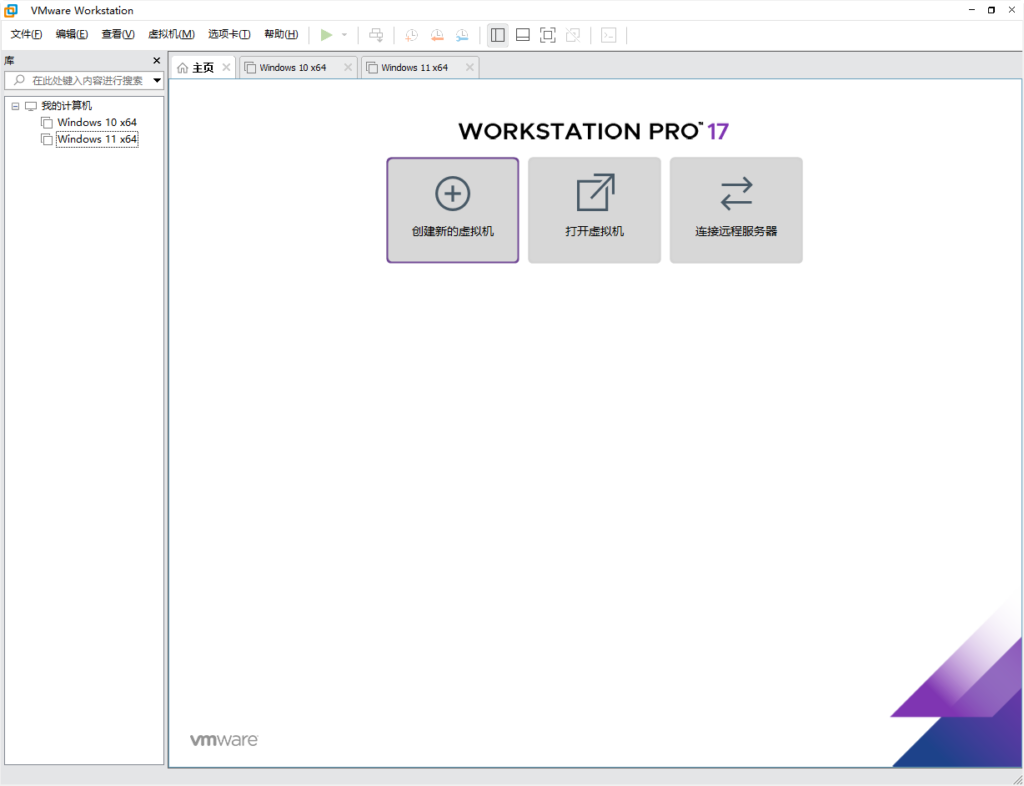
首先,打开VMware Workstation软件,点击“创建新的虚拟机”
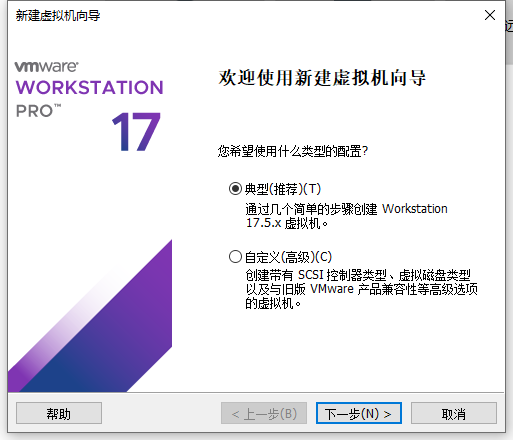
选择“典型”并下一步。
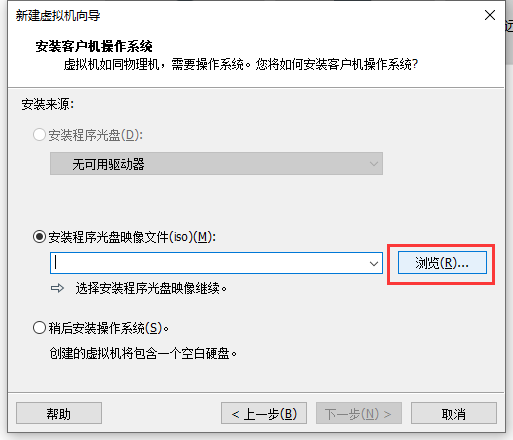
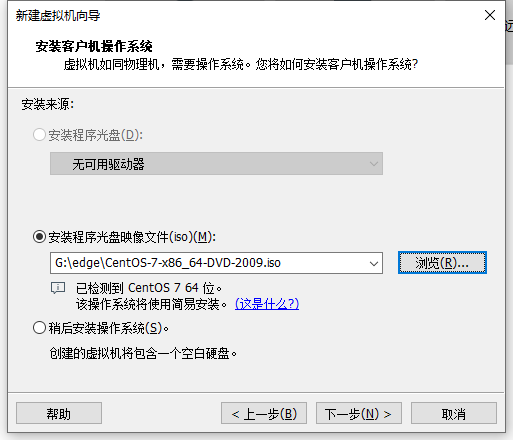
点击“浏览”,找到下载好的CentOS 7 镜像并打开,然后下一步。

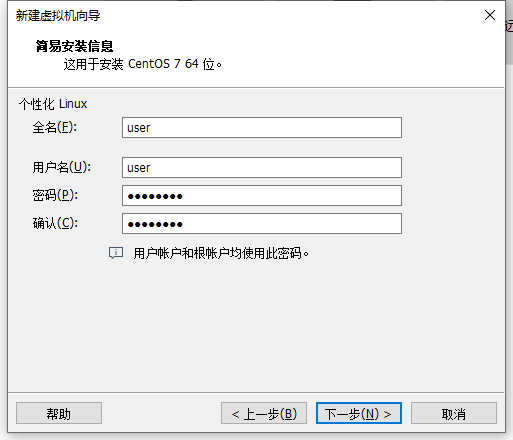
下一步填写用户名与密码等信息,可随意填写,不过要记得输入的密码。输入后点击下一步。
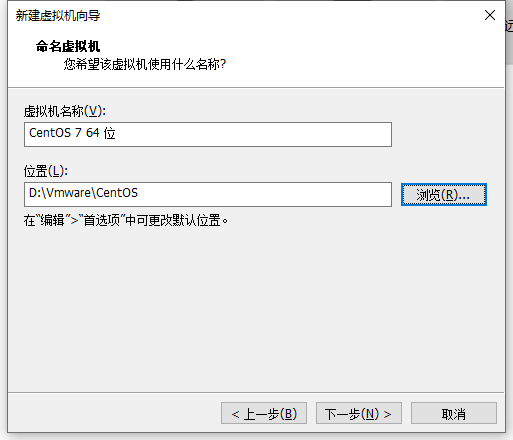
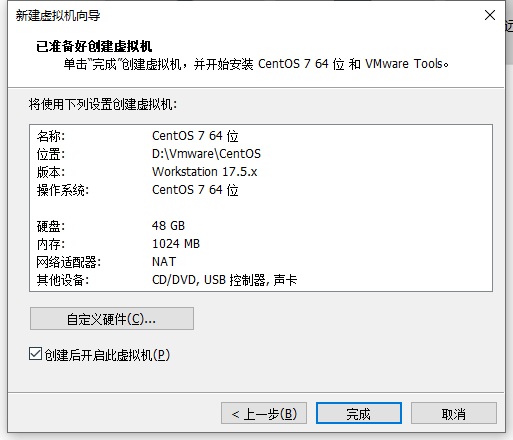
在这里设定虚拟机的名称与存放位置。可以自行决定虚拟机的位置。
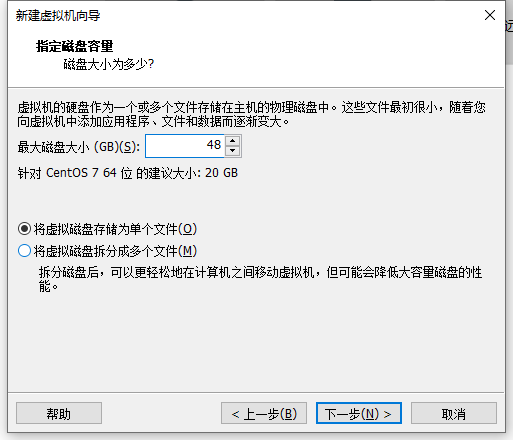
磁盘大小可以是默认,也可以指定一个数字。
这里确认信息无误就可以点击完成。虚拟机会自动开启。
如果你想加快虚拟机的速度,那么取消勾选”创建后开启此虚拟机“,并调整好CPU核心数与内存再开机。
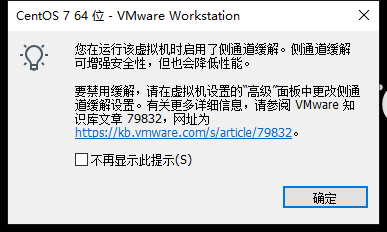
若遇到如下提示点击确定即可。
CentOS安装
虚拟机将会自动安装CentOS,无需人工干预。
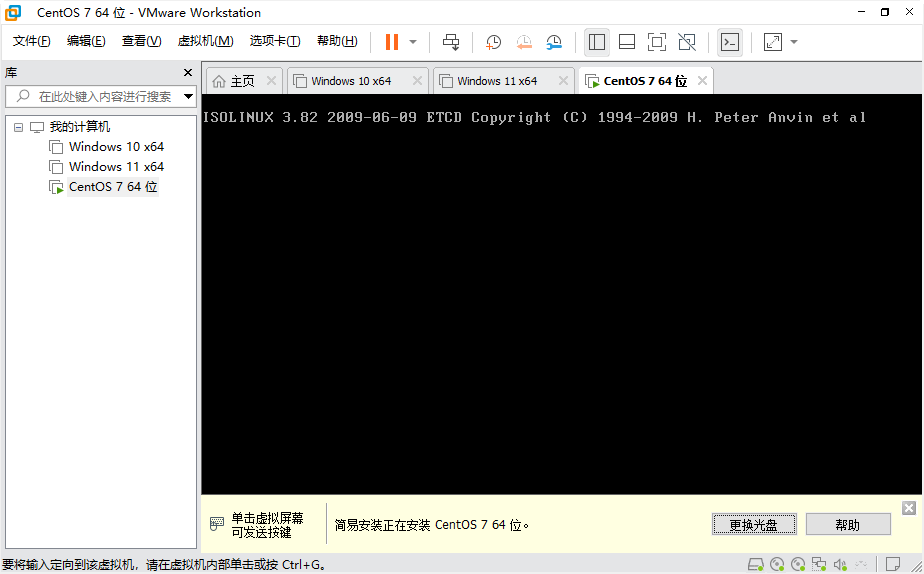
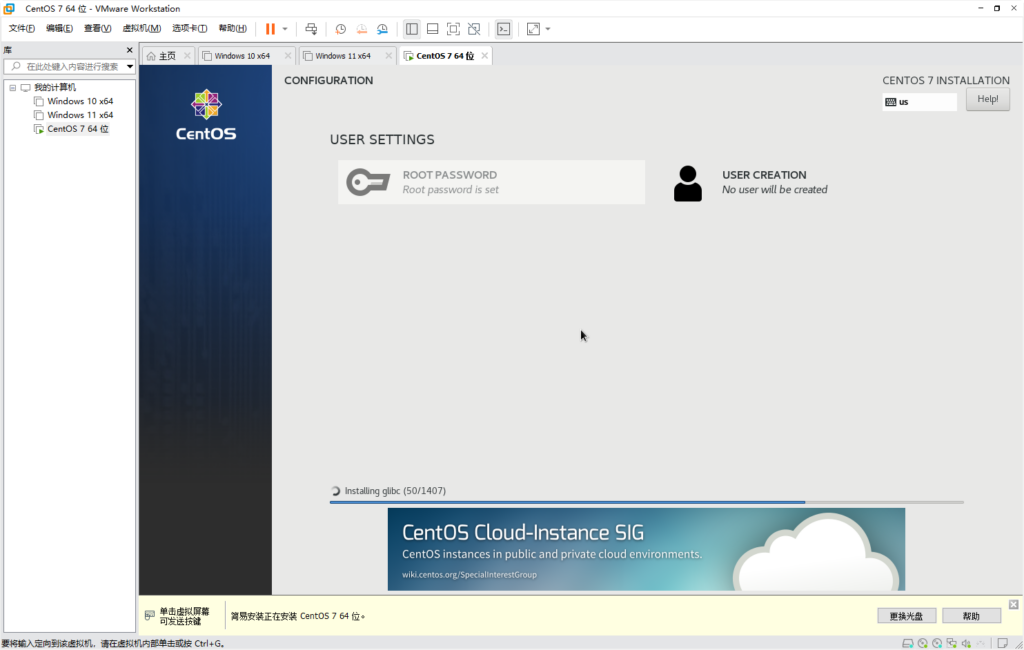
安装需要花费一些时间。
环境预备
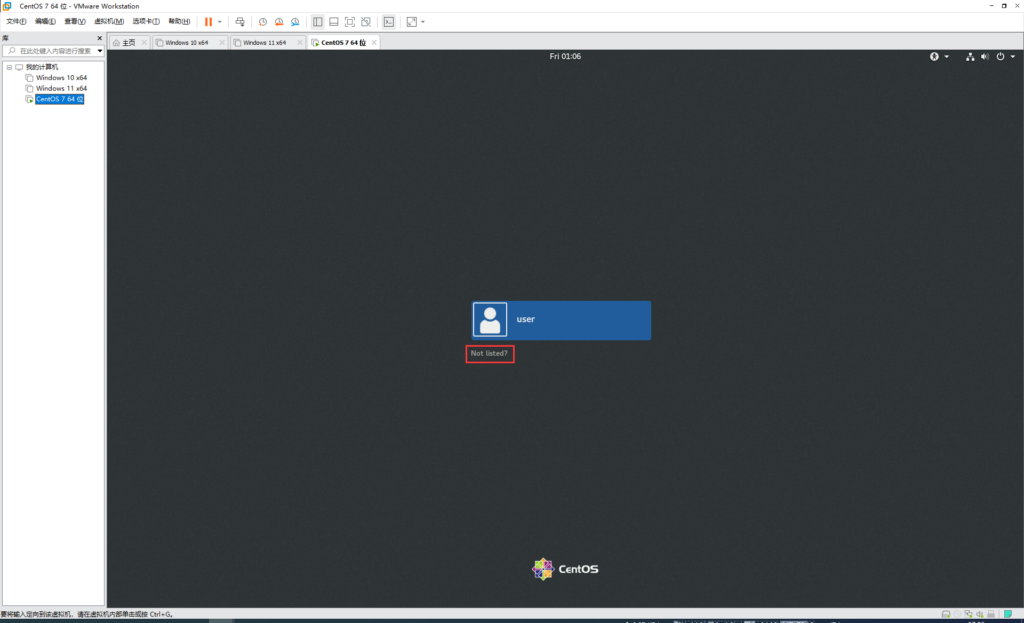
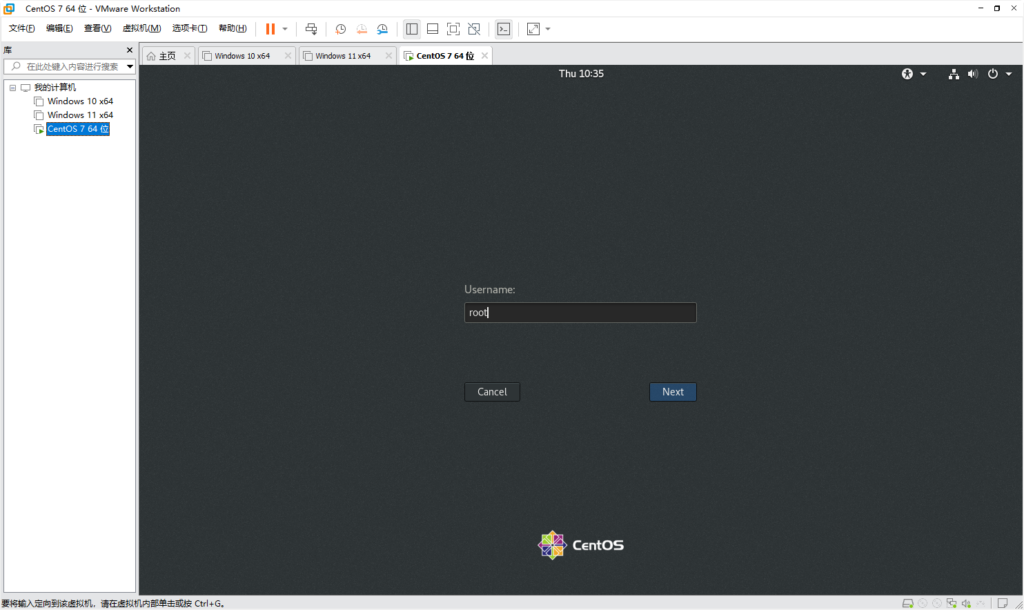
来到这个界面时,点击 ”Not listed?“,然后在username中填入root。
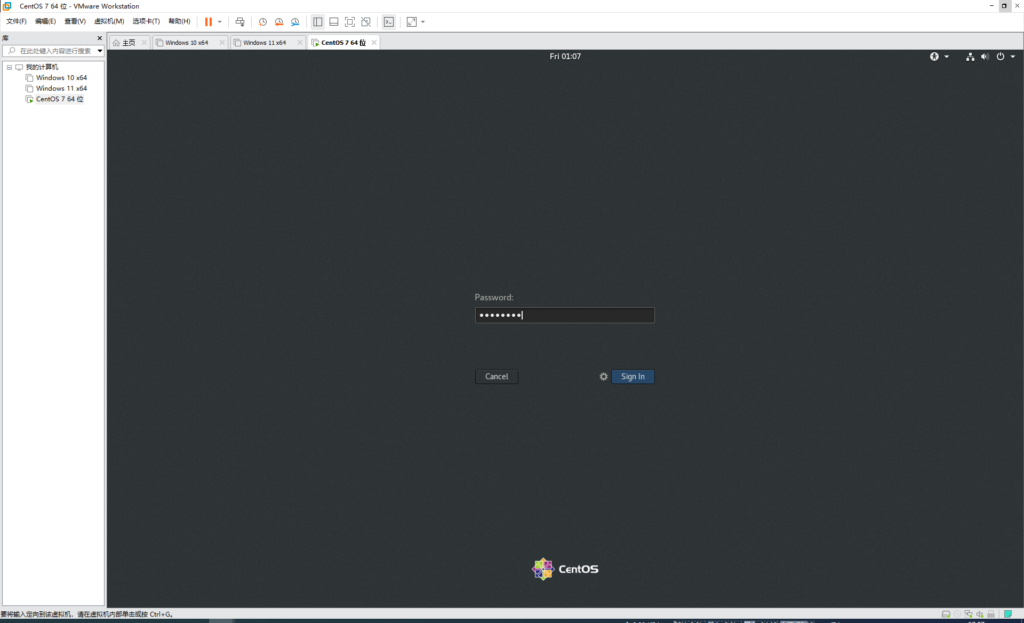
密码填入12345678,或者在前面”个性化Linux“时所填入的密码。
登录之后来到桌面。

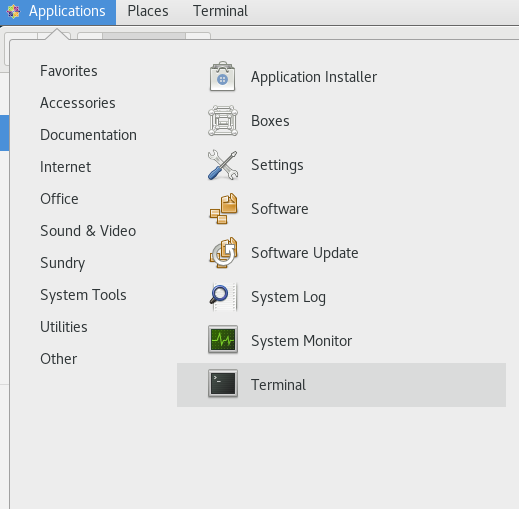
然后点击Applications→System Tools→Terminal
首先运行yum update以更新系统
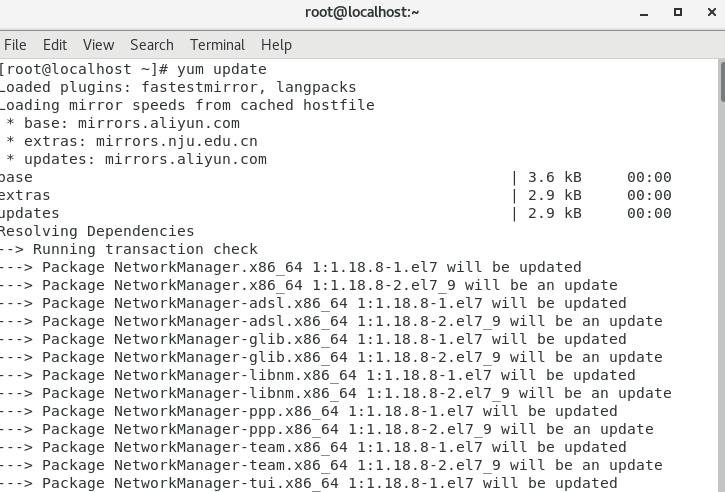
分贝输入2个y
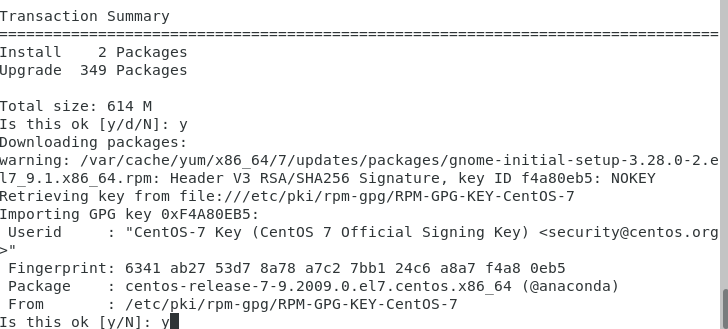
然后等待系统更新即可。
等到complete时,使用reboot进行重启。
来到登录界面后点击“Not listed",然后输入用户名root和密码12345678.
下载开卡文件
进入桌面,点击Applications→System Tools→Terminal 打开Terminal,
然后运行如下指令
wget -O SF.zip https://file.mashiro.pro/d/guest/blog-file/SF2241%20Produce/SF.zip解压开卡文件
然后打开home文件夹,双击SF.zip
将SF这一个文件夹拖动到Home文件夹即可
安装依赖与配置开卡ID
然后再次打开Terminal,运行如下指令(一行一行来,#行为注释,不用运行)
cd SF
chmod +x *
yum install ld-linux.so.2 libSM.so.6 libXrender.so.1 libfontconfig.so.1 libstdc++.so.6 libXext.so.6
#yum install 到 libXext.so.6 为同一行的内容
cp hack.lic sp90064.lic
mkdir output
nano sp90064.lic
进入文本编辑器后后,这一步需要删除多余的configuration_id,只保留对应的开卡ID。
手头上的这一块硬盘,靠其闪存芯片的编号并不知道这块固态硬盘所采用的颗粒是什么。而想要知道开卡ID则需要知道固态硬盘使用的闪存芯片是来自什么厂商的多少nm芯片。因此需要去web中搜查资料。
已知SP900 128GB对应的开卡ID为28044,那么64GB所采用的方案大概是差不多的。最终确定其ID为28041。(根据其有8个闪存芯片,使用Micron颗粒与128G的开卡ID推断)

因此,最终仅保留一个<configuration_id id="28041" />。其余的configuration id删去。于此同时,最后一行的<checksum>xxxxx</checksum>也要删去。其余内容不变!

然后按下Ctrl+X,然后按Y,最后按回车。
生成driveconfig与mfp
然后继续在Terminal运行如下指令。
./checksum sp90064.lic
然后双击SF文件夹,并双击SF_OEM_PackageManager
来到如下界面

以下有6行文字,分别复制到对应的框中
/root/SF/FW_PPRO_6_0_A_Release.1134440.release.dfp
/root/SF/sp90064.lic
/root/SF/output
0
1,2,3,4,5,6,7,8,9,0,1,2,3,4,5,6
6.0.A
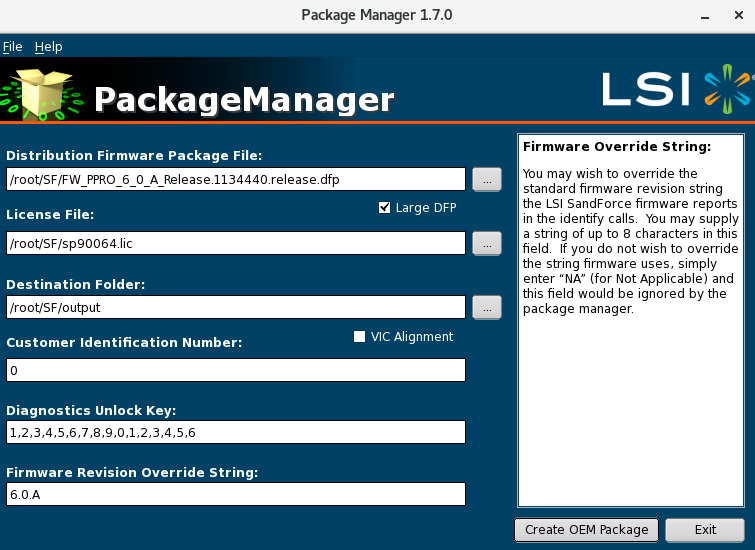
然后点击Create OEM Package,出现下图提示并等待几分钟。
等到如下画面则表示完成,可以继续操作。
设置固态硬盘信息
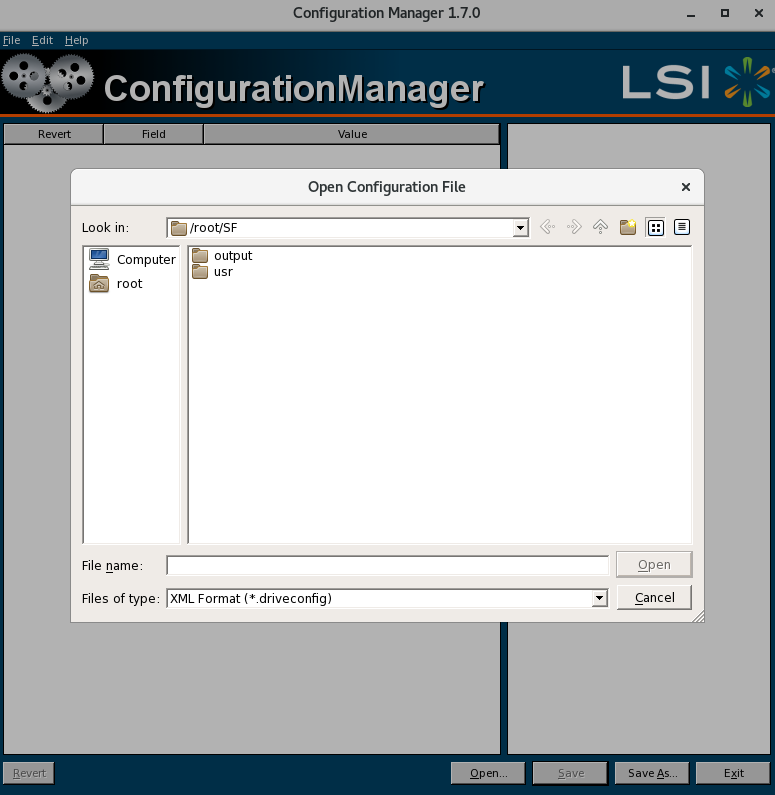
然后回到SF文件夹,找到SF_ConfigurationManager
然后来到如下画面,双击output,然后双击FW_PPRO_6_0_A_Release.1134440.release--0,然后双击Configuration_Files,最后选中28041.0.driveconfig并点击Open

然后来到如下界面,修改如下三项的内容(不一定要与图中的内容相同,可以自定义)
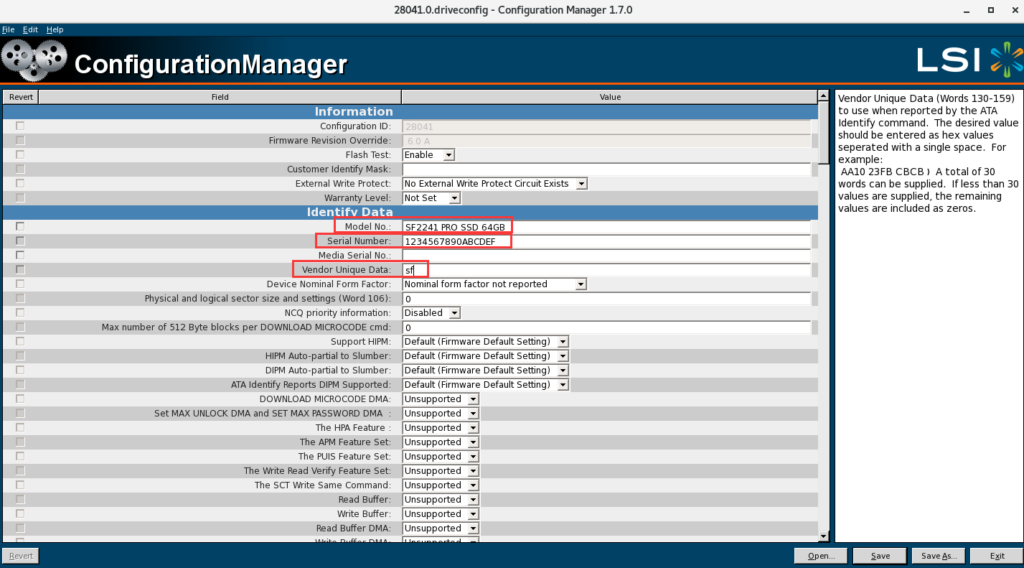
修改完成后点击Save(右下角)。然后点击Exit(右下角)
开卡预备
然后回到SF文件夹,双击打开SF_GenesisDashboard
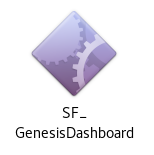
然后来到如下界面
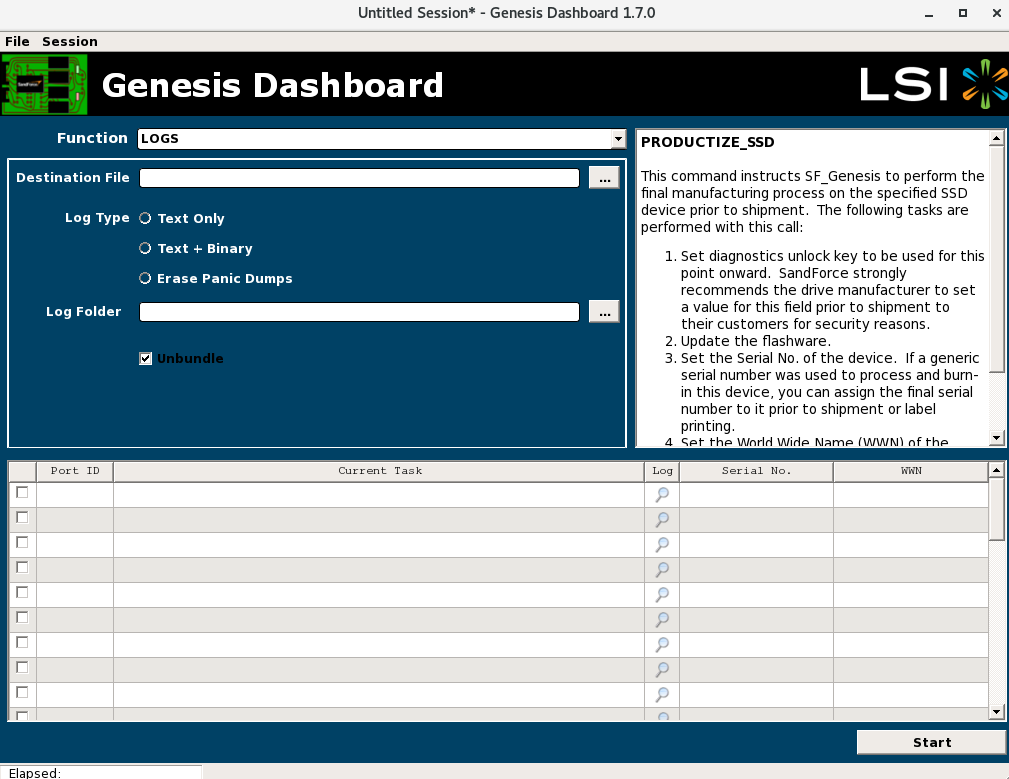
点击Function栏最右边的小三角,然后选择Process_SSD
然后在DriveConfig填入如下内容
/root/SF/output/FW_PPRO_6_0_A_Release.1134440.release--0/Configuration_Files/28041.0.driveconfig在MFP Package填入如下内容
/root/SF/output/FW_PPRO_6_0_A_Release.1134440.release--0/FW_PPRO_6_0_A_Release.1134440.release.0.mfp
在Log Folder填入/root
然后需要准备固态硬盘,硬盘盒以及回形针或导电物体准备短接。
短接硬盘并接入虚拟机
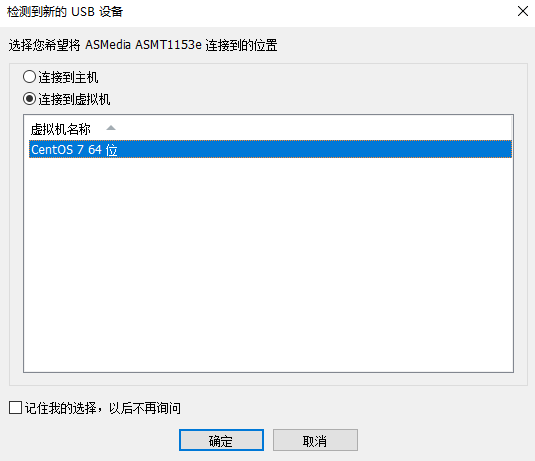
如图所示,短接固态的方孔与圆孔,然后将硬盘盒接入机器的USB2.0接口(USB3.0接口可能不成功!)然后在VMware Workstation中选择 连接到虚拟机,并单击CentOS 7 64位,然后按确定。
连接虚拟机之后几秒钟,将导电物体从孔中拔出。
然后回到Terminal,输入lsscsi并回车,若看到SandForce字样则表示成功进入ROM状态。

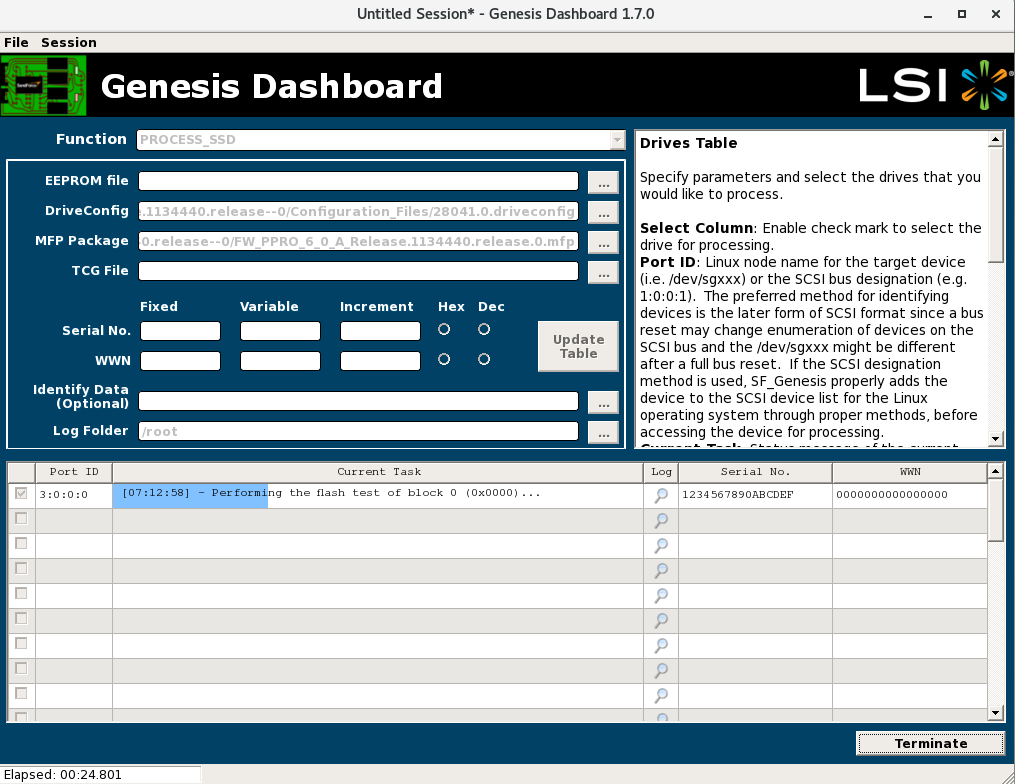
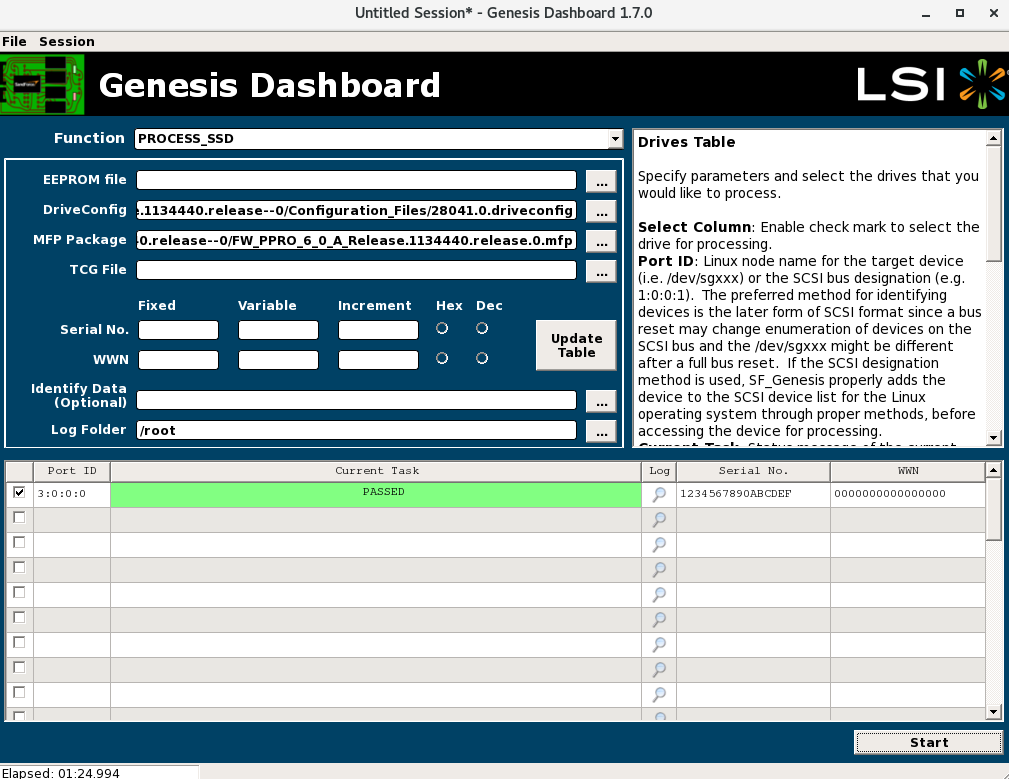
然后回到Genesis Dashboard,按如图信息填写
0000000000000000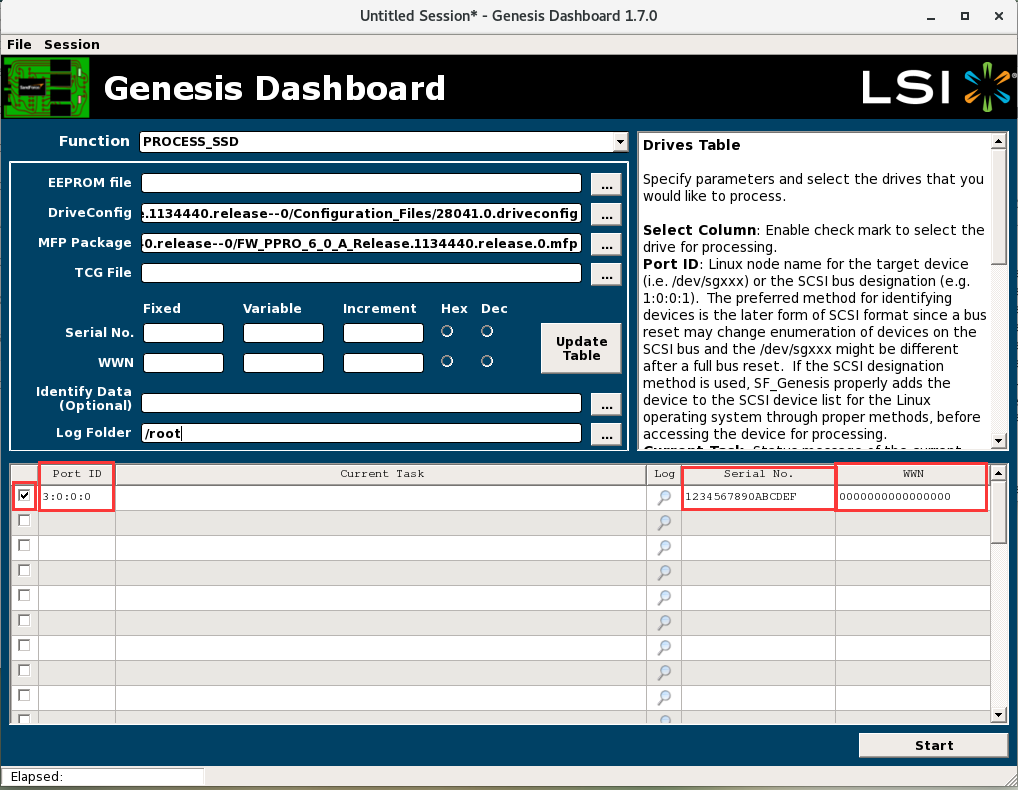
开始开卡
完成后,点击Start即可开始开卡固态。

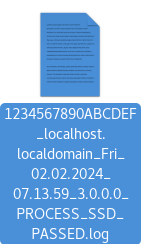
当见到PASSED的字样时,即表示开卡成功!
格式化硬盘
然后我们可以于VMware Workstation的右下角弹出设备(断开连接)。


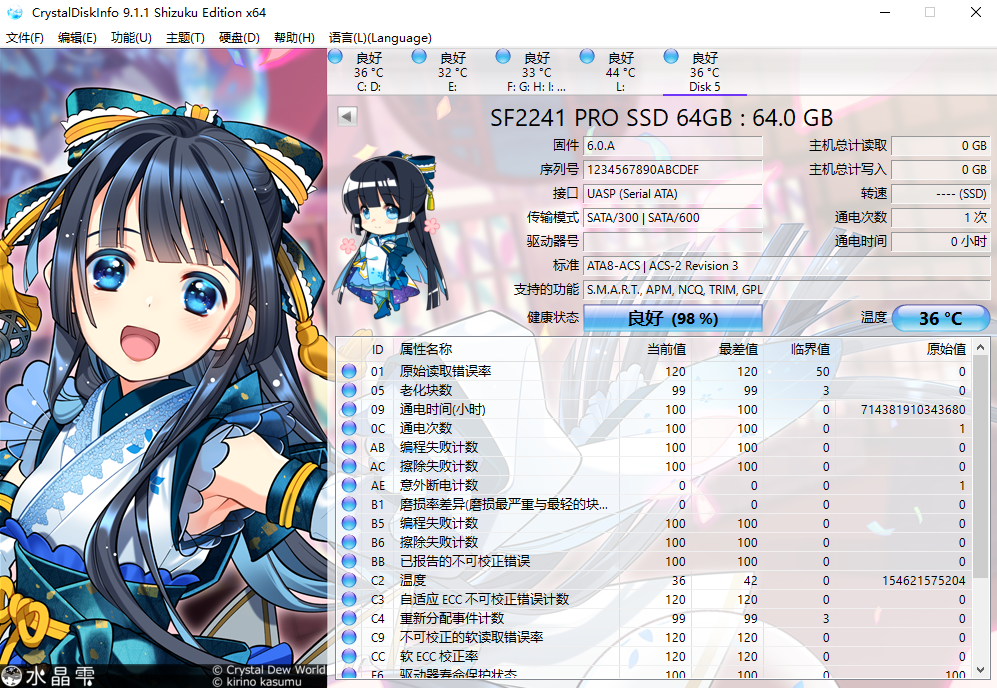
然后我们回到Windows,就可以看到固态硬盘已经恢复正常。
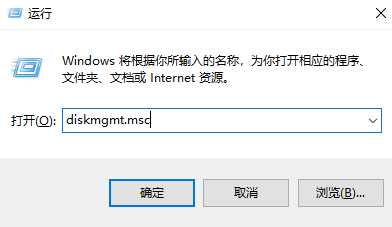
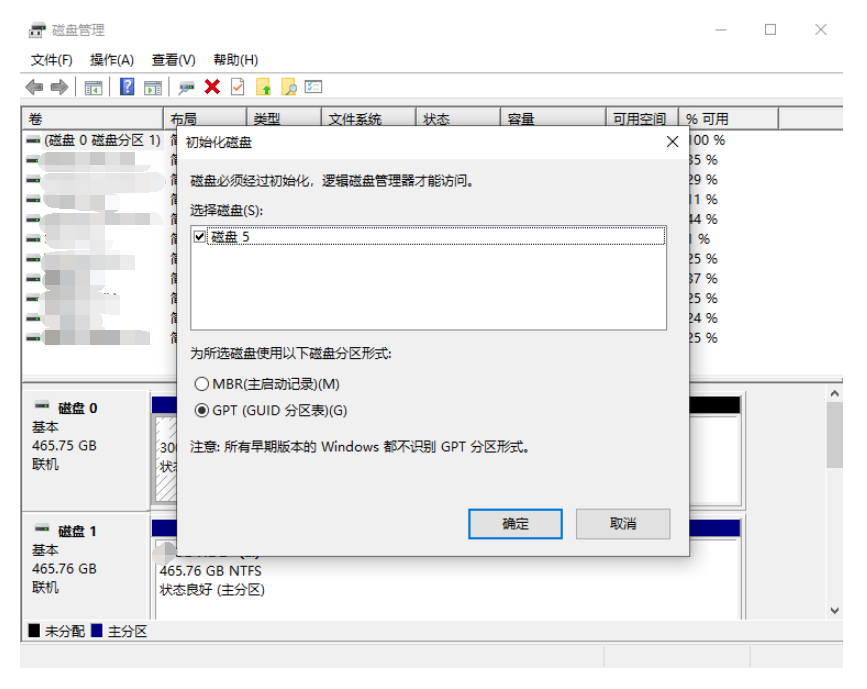
接下来我们按下win+r打开diskmgmt.msc。
接下来Windows会弹出要求初始化硬盘。直接点击确定即可。
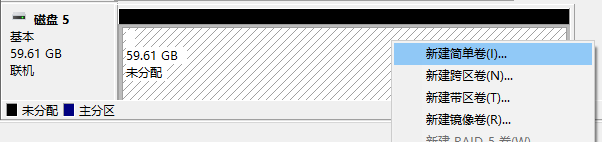
然后往下翻,找到对应磁盘,右键单击未分配的区域,点击”新建简单卷“
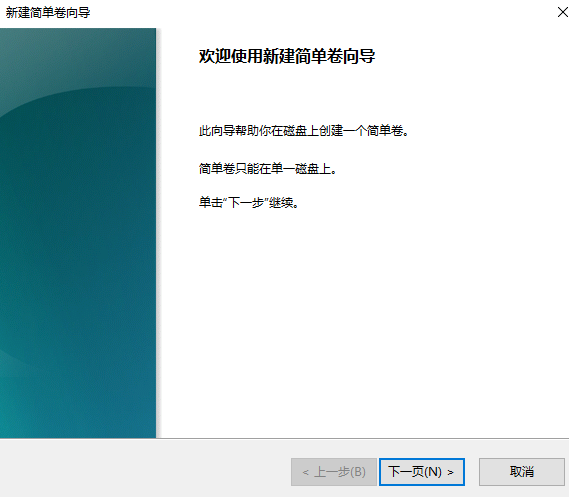
然后点击”下一页“
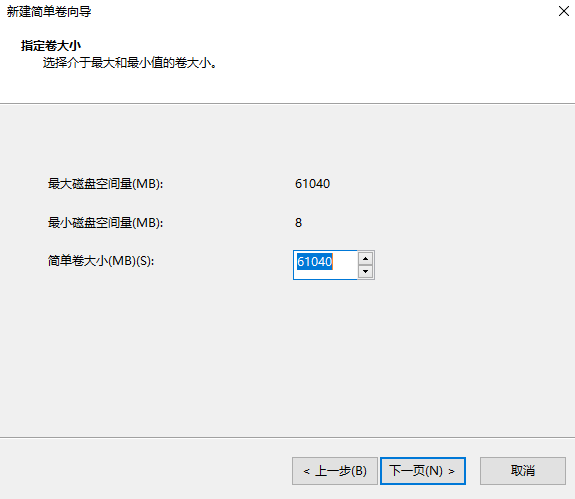
点击”下一页“
点击”下一页“
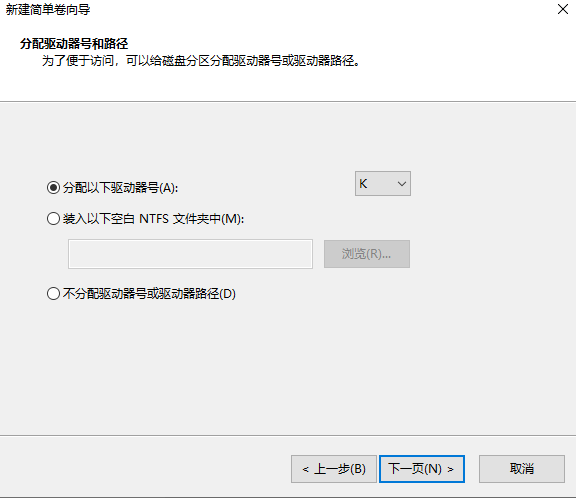
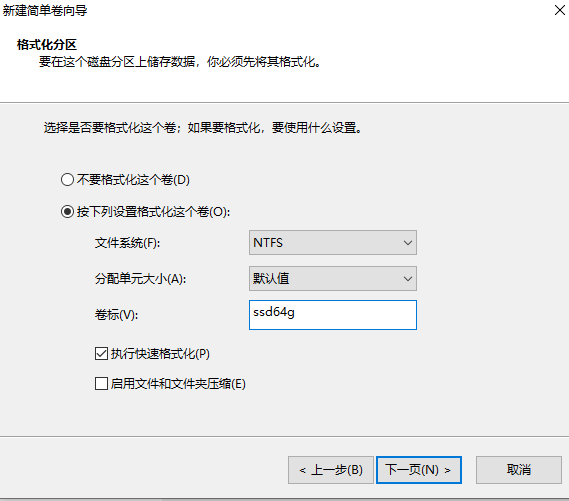
卷标可自定义,填写完成后点击下一页。
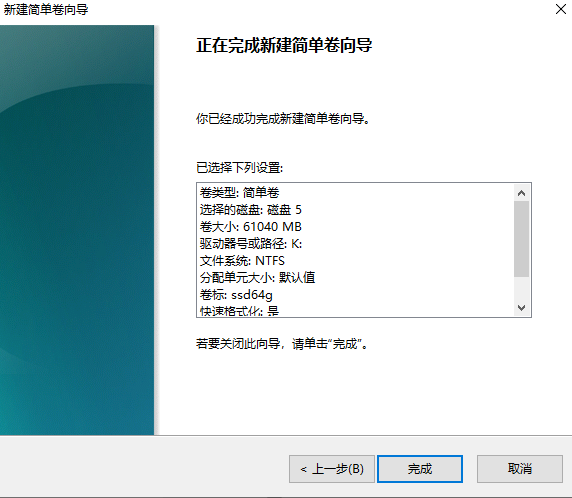
然后点击”完成“
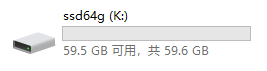
然后我们就能在文件资源管理器中找到这块硬盘了。
这一篇记录也到此结束了!
Comments 10 条评论
大佬强啊 我那块镁光m600 1TB 马牌主控 开不了 直接让我闪存全拆了贴另一个板上了qwq
我的话可能就买底板改U盘用了……毕竟64G也只有改U盘合适点了……
请问大佬,如果有相同型号的硬盘,是不是可以备份固件,再烧录进要开卡的硬盘上呢?
我手头现在有几个相同型号的SF-2282硬盘,其中1块不读盘,但可以进ROM模式。
想着是否可以备份固件再写入,是不是简单点。
@木丹子 抱歉,这边无法回答这个问题,因为没有试过这种情形。
看起来理论上是可以的,这个要实践才能得出结果。
不过最稳的还是走传统的开卡吧。
@Shiroa 感谢回复!
我准备用大佬博客里的方式试试,因为也没有看到包括其他帖子里开卡软件截图上面有备份固件的功能。
开卡成功,感谢
ZF下不了
@36344498 抱歉,由于签名过期问题导致无法下载,现已修复。
请重新尝试。
i got fail
[Tue 05/26/2026 04:48:22] – Proceeding in ROM mode, download feature 3…
[Tue 05/26/2026 04:48:22] – Successfully downloaded MFB to the drive…
[Tue 05/26/2026 04:48:22] – Waiting (5 sec) for the drive to settle…
[Tue 05/26/2026 04:48:27] – Successfully received the IDENTIFY data from the drive…
[Tue 05/26/2026 04:48:27] – FATAL_ERROR: Did not recieve the correct firmware revision. it is reported to be: '402ABBR0', indicating MFB download has failed.
[Tue 05/26/2026 04:48:27] – End of Genesis manufacturing log.
[Tue 05/26/2026 04:48:27] – Exiting…
[Tue 05/26/2026 04:48:27] – Overall Result for Device: /dev/sg2 ****** FAIL ******
@rzq The reason of failure is unclear, but you can try to solve it by:
1. Connect the SSD to the motherboard directly using SATA Port with AHCI Mode, instead of using USB-to-SATA, and re-try it.
2. Try using the older version of SF tools and firmware. Unfortunately, I haven't saved the older version of firmware, but I have remembered the version is 5.8.0. Version 6.0.A maybe not suitable.
3. Some OEM may use different NAND chips in different period of time, although using the same model. Maybe you can try different Release Configuration ID if you have time. (But it's very time-wasting)