这个教程需要多次刷机,如果你想节省一点时间,可以准备2个8G以上容量的U盘,先同时烧录好镜像。也可以只用1个U盘,但需要烧录2次
准备材料:
1.U盘 x1 /U盘 x2
2.旧版玩客云(v1.0) x1
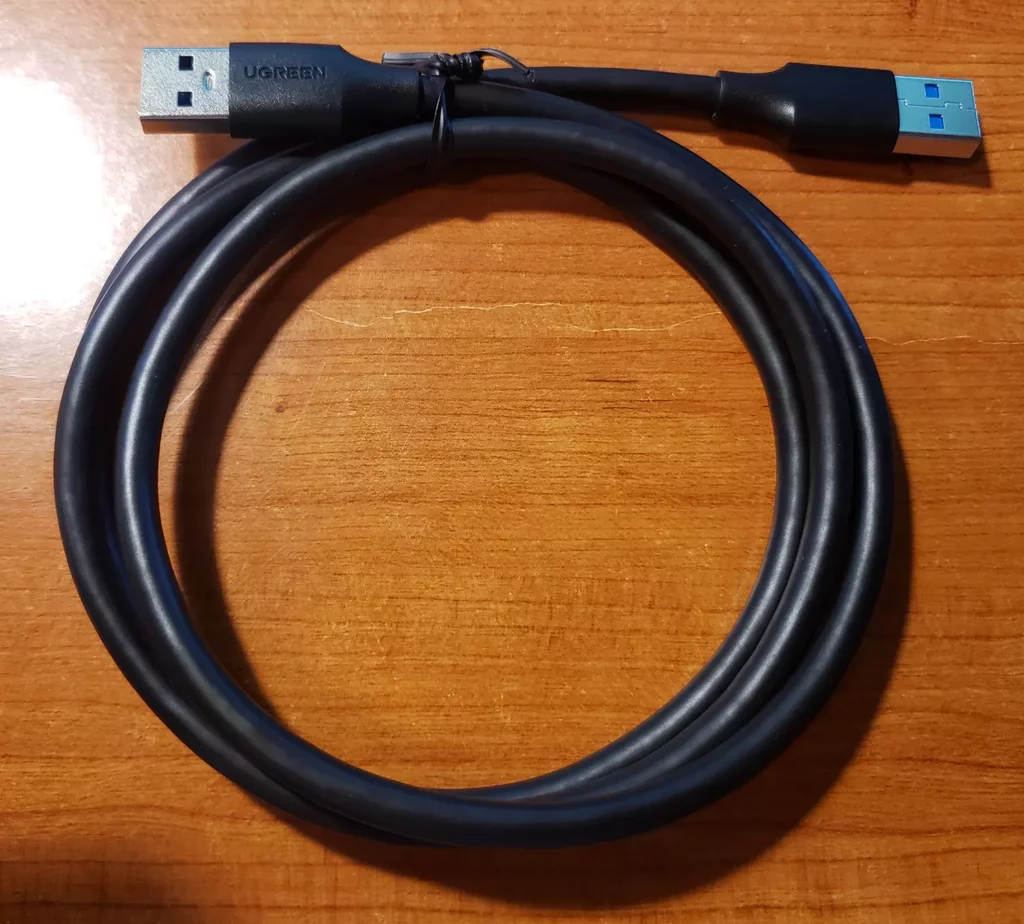
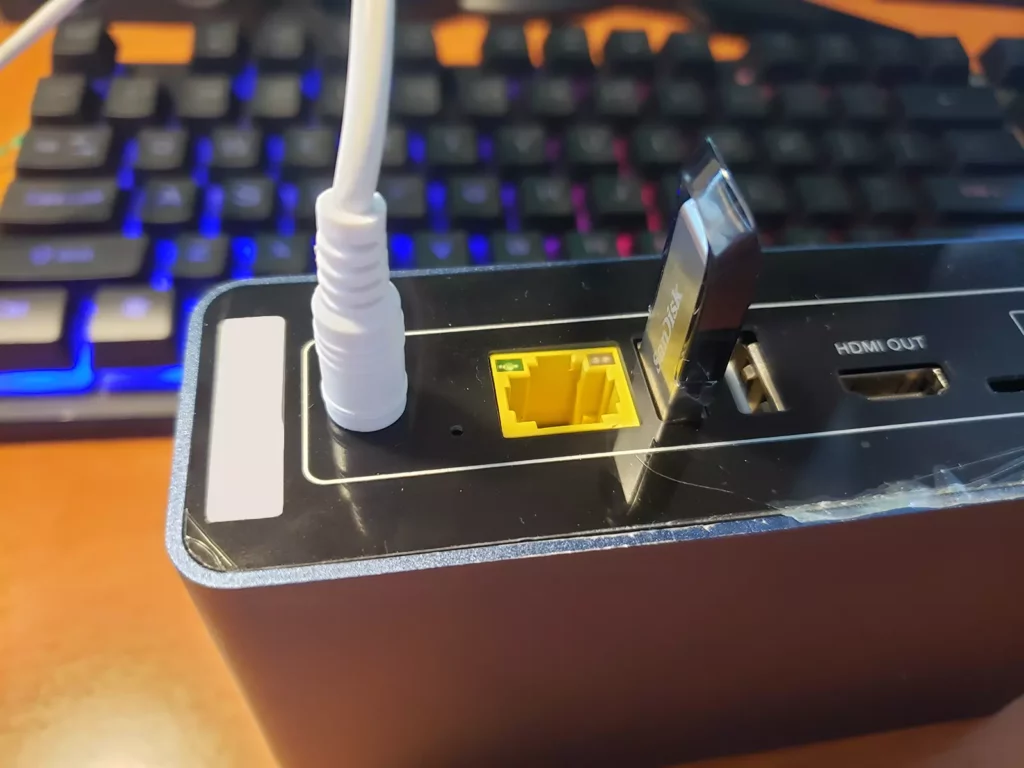
3.双头USB数据线 x1
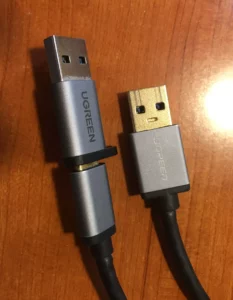
(也可以是type-c数据线+usb转type-c器,如下图)
4.(非必需)镊子 x1 (用于短接触电导电)
5.(非必需)取卡针 x1(如果不想拆开面板)
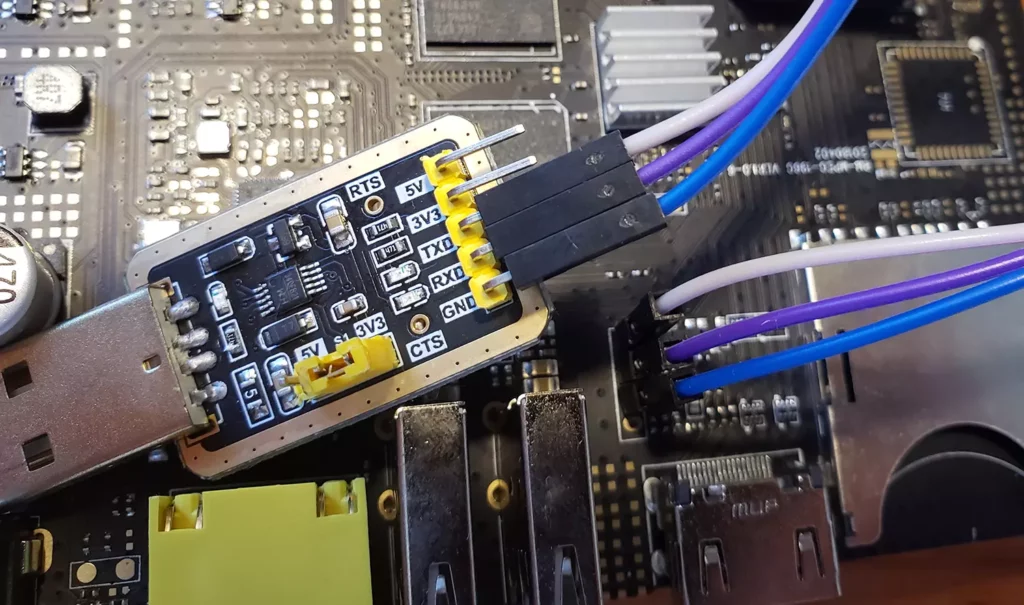
6.(非必需,但推荐,方便查看信息知道刷机情况)USB转tty模块 x1 + 杜邦线公对母 x3
接线图如下
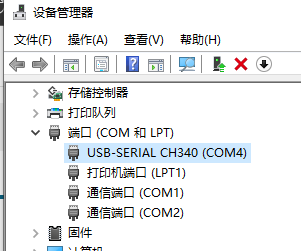
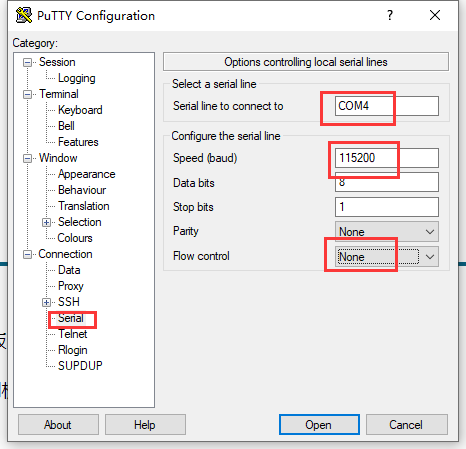
如果你使用tty,请确保串口设置如图下所示(COM后面的数字不一定是4,请根据自己的情况而来

7.下载文件(点击文字去往地址。所有文件都需要下载(除了已经安装过的))
刷入底包
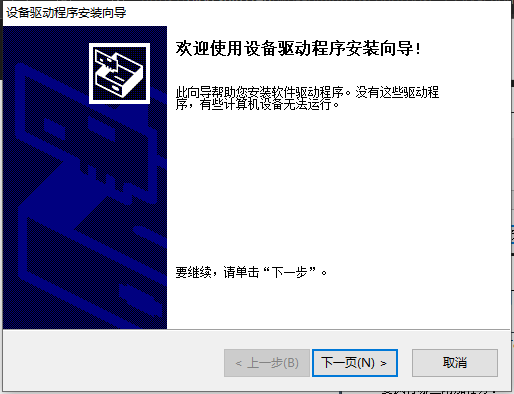
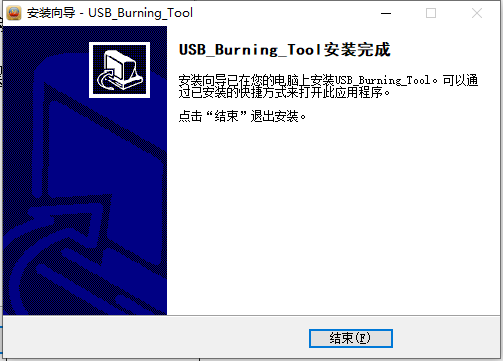
安装Amlogic USB Burning Tool v2.2.0
下面一路“下一步”即可。
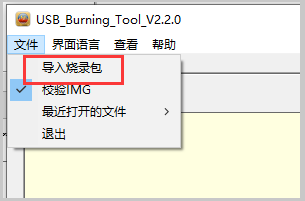
烧录update.img
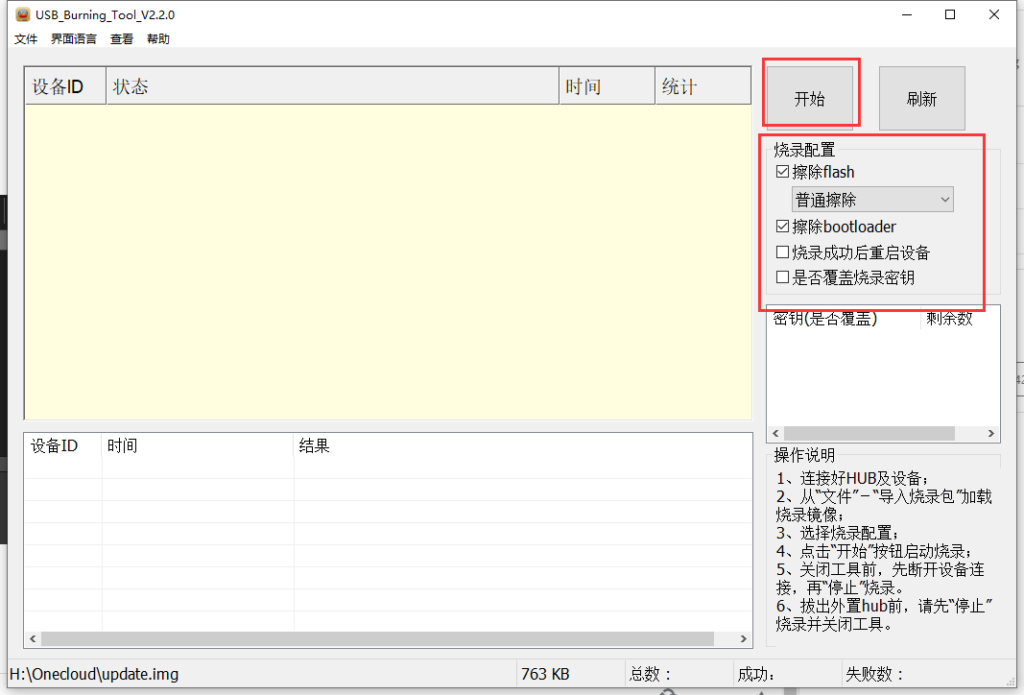
然后我们打开软件,点击“文件”,并点击“导入烧录包”
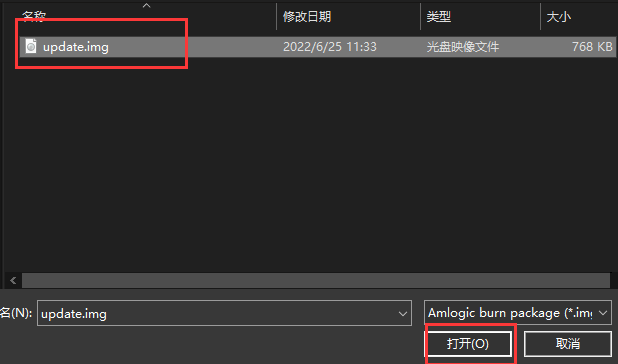
然后选择update.img,并打开
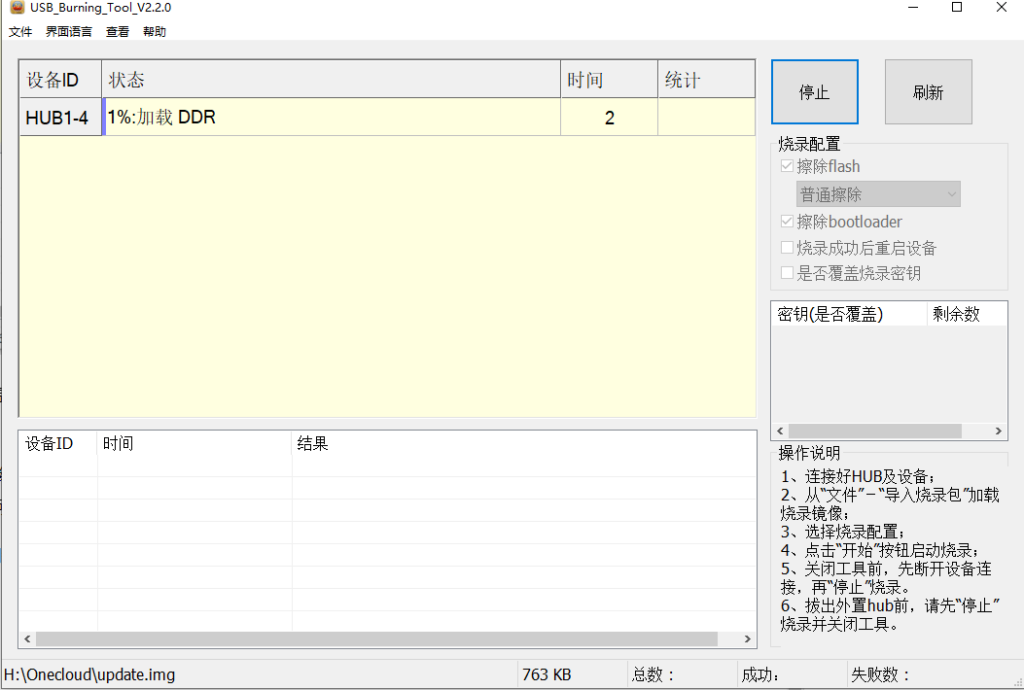
然后回到主界面,确保设置如红框中内容之后点击“开始”
识别方法
接下来有两种方法,可以任选一个。推荐方法一,但是方法一可能不成功。方法二需要拆机短接(这货巨难拆,双面胶很黏),但是基本不会不成功。
方法1:我们将玩客云连接至电脑(使用双头USB数据线或type-c数据线+转换器),并用取卡针怼这reset孔。然后打开玩客云的电源,等到软件有响应之后就可以松手了。(博主的两台机器一个行一个不行)

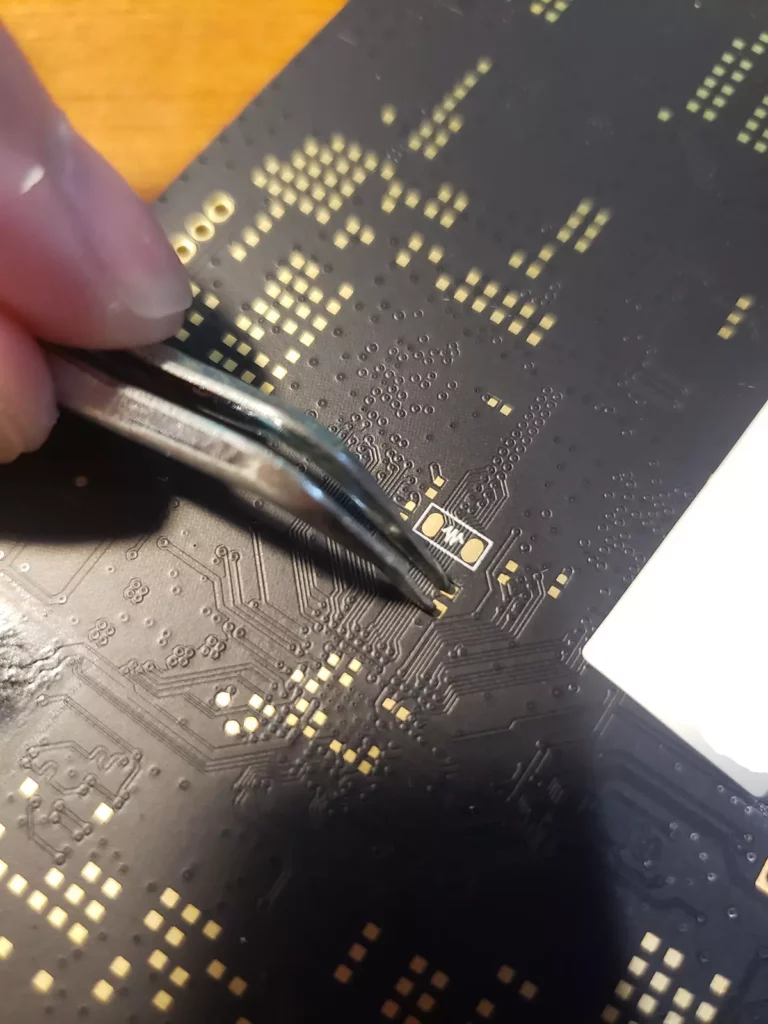
方法2:我们拆开玩客云,拿出里面的主板。然后使用镊子短接如图所示的两个点。然后打开玩客云电源,等软件有反应后就可以松开镊子了。(通用方法,成功率很高)
软件会自动开始刷入镜像。
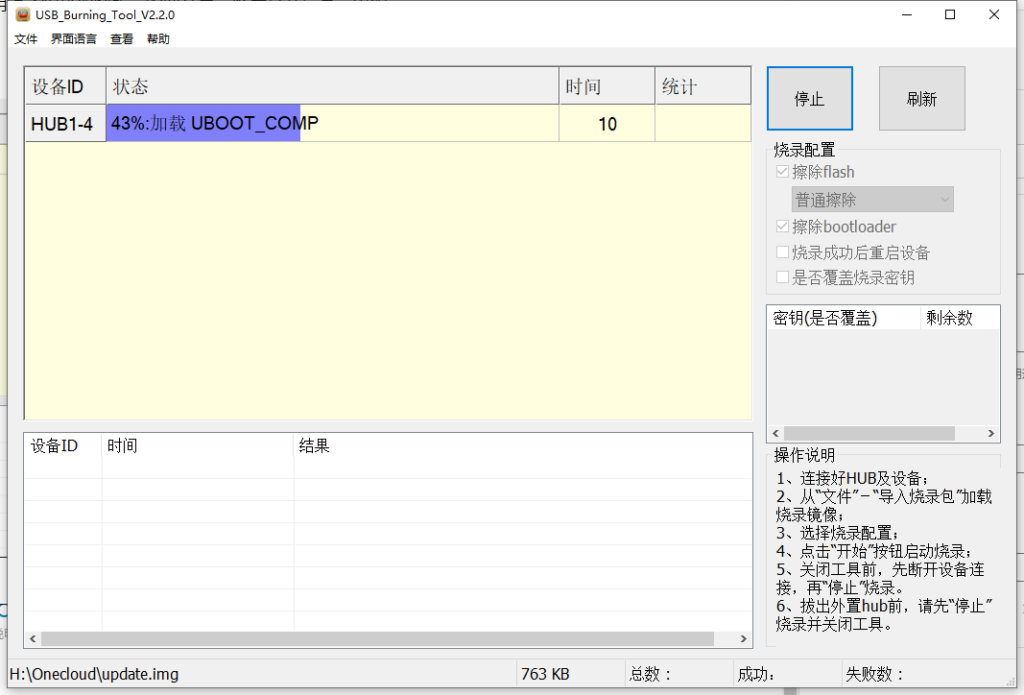
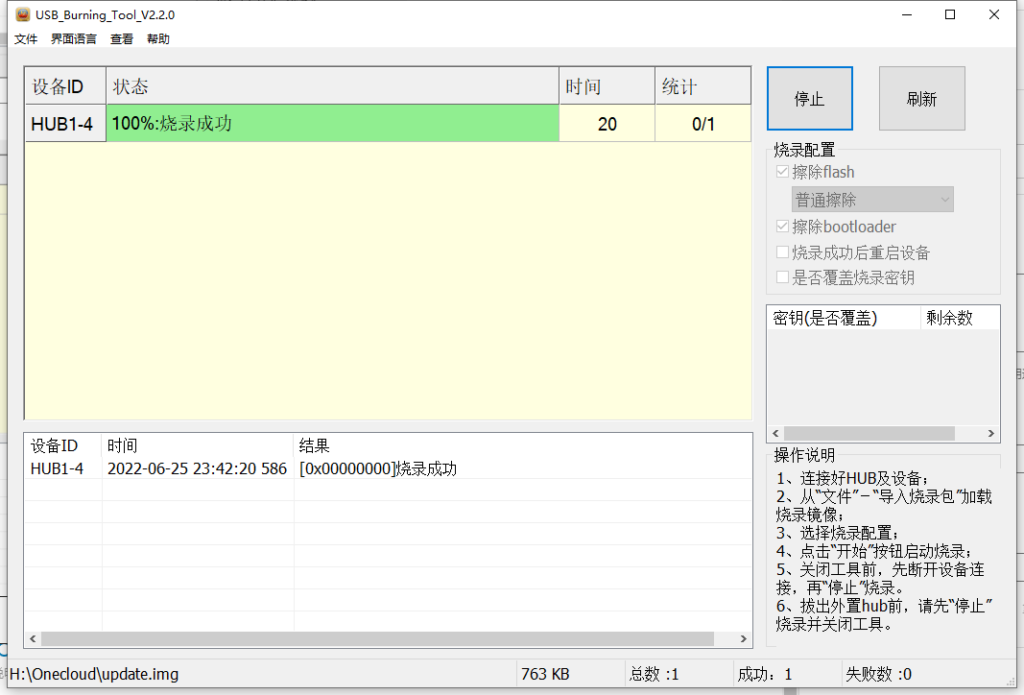
等到绿色条亮了就可以关闭玩客云的电源了。
刷入Armbian5.88
安装balenaEtcher
我们先行安装好balenaetcher。通过运行如下文件进行安装(如果你已安装可以忽略提示)

烧录Armbian5.88至U盘
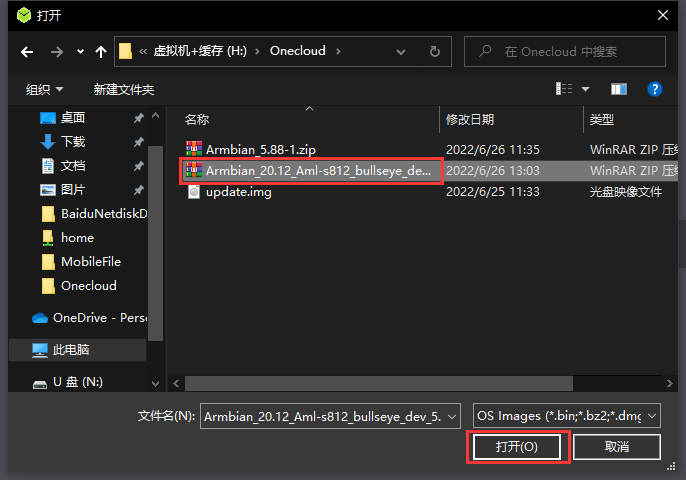
安装完成之后,我们打开它,来到如下界面。首先点击“Flash from file”
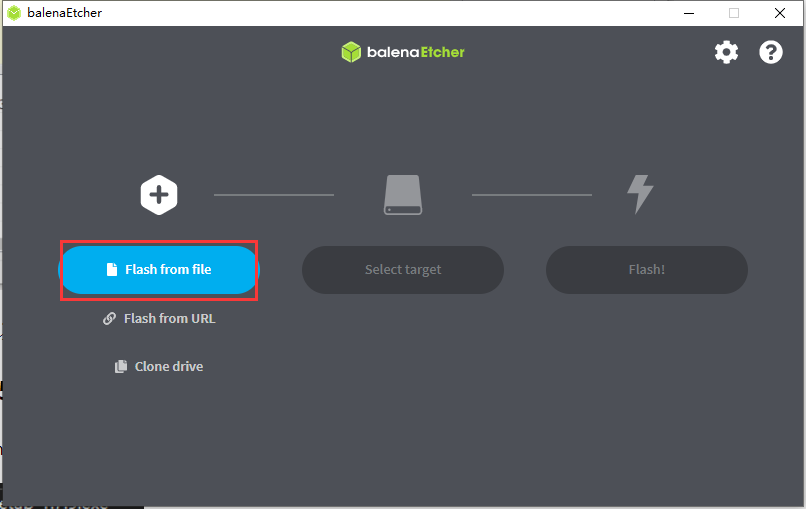
然后选择Armbian_5.88-1.zip,并选择“打开”

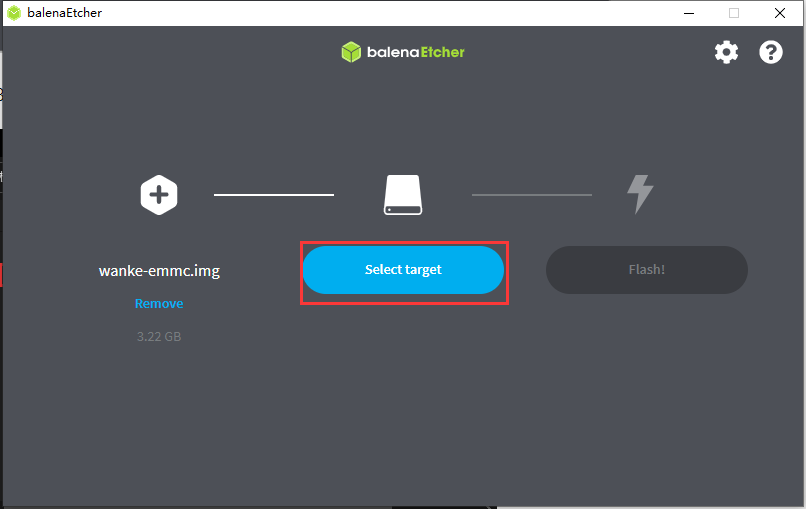
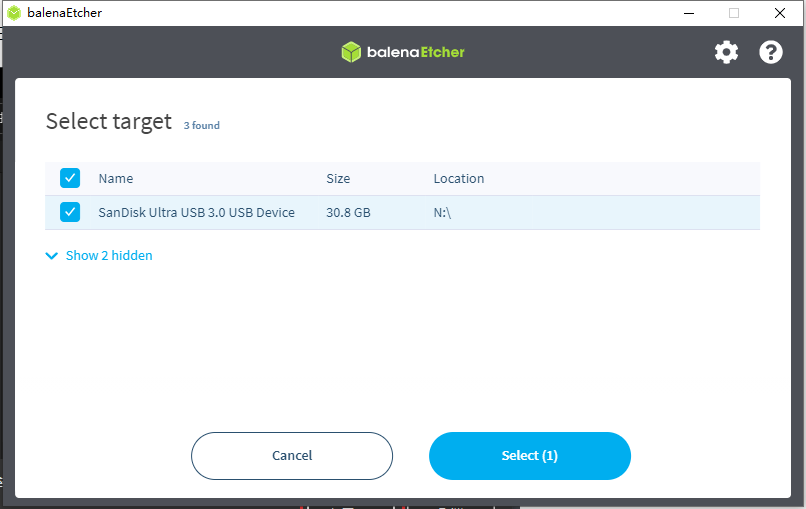
然后我们点击“Select Target”
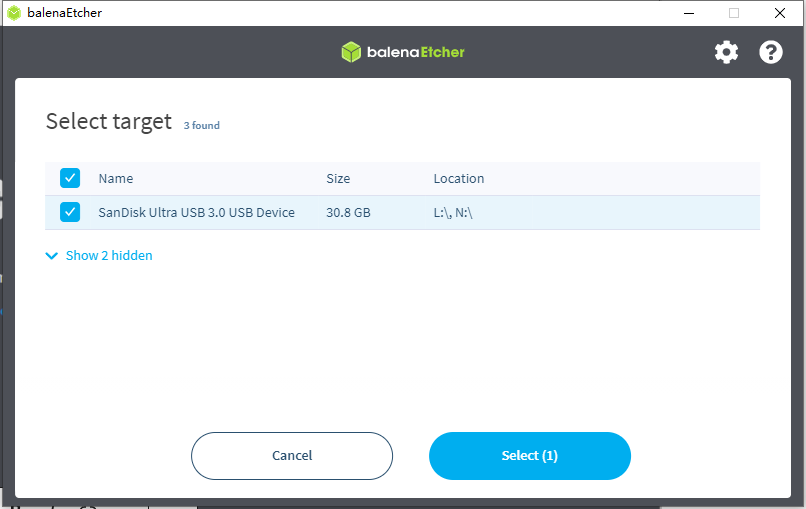
选择自己的U盘即可
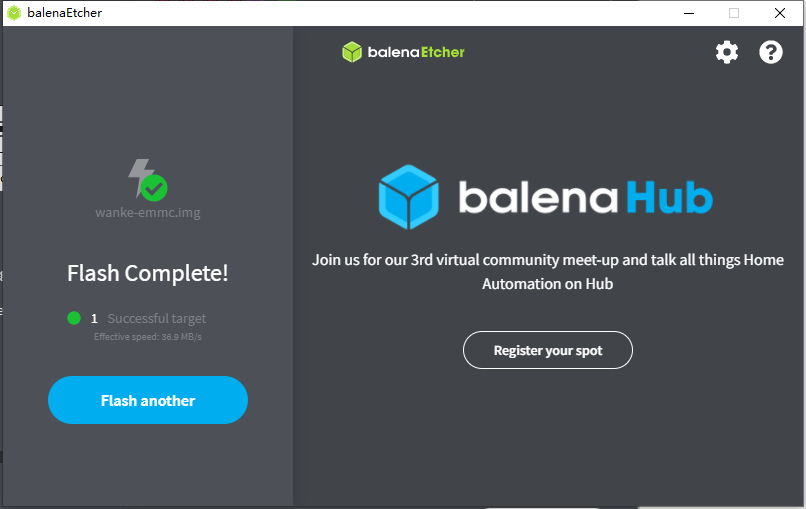
最后点击“Flash”
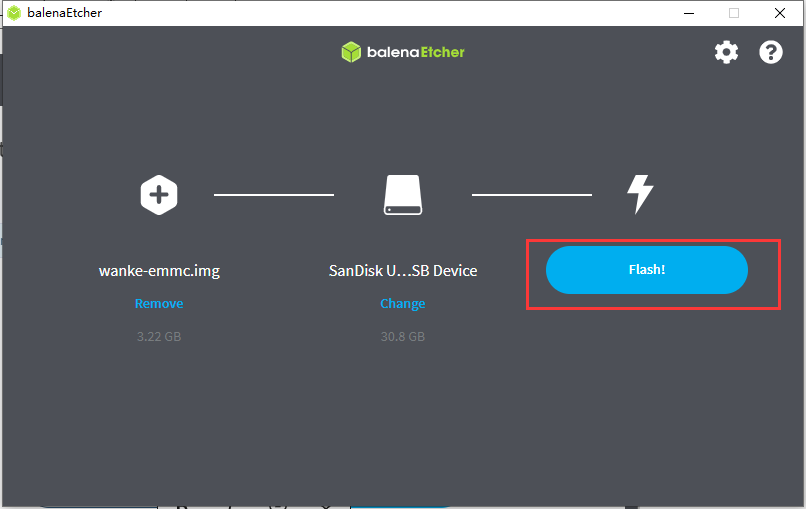
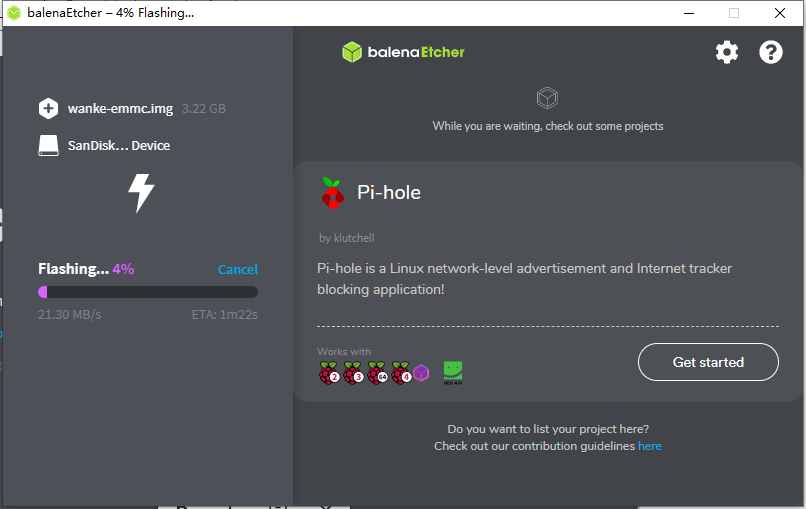
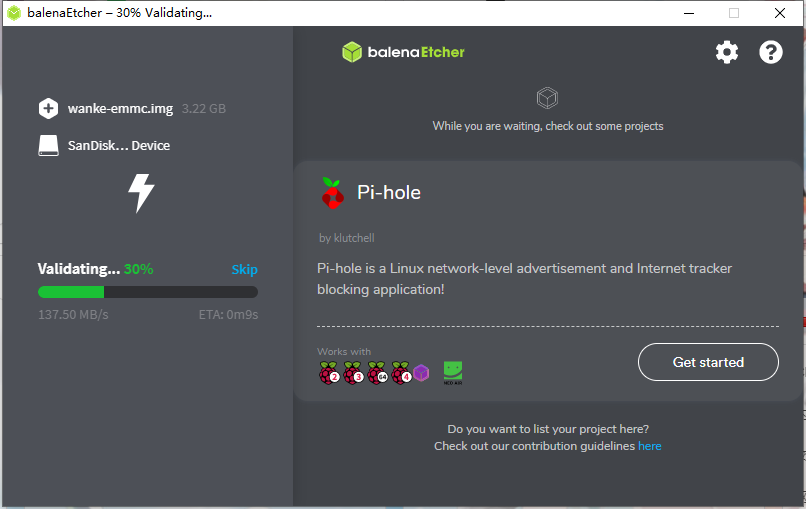
等到Flash完成之后我们就可以拔掉U盘了。
刷入Armbian5.88至玩客云eMMC
我们将U盘插入玩客云离网口近的USB接口中,如图示。
然后就可以打开电源了。首先机器会亮绿灯,稍后会亮蓝灯,然后会是蓝紫灯交替闪烁。
这个镜像设置是写入完后自动关机。如果你发现机器前面板灯灭了,或者是蓝色灯不再闪烁,等了很久还是常亮,就可以关闭电源了(使用串口查看信息的用户可以看见有“system halted”字样,看到了就可以拔掉电源了)
(如果使用串口,在刷入之后拔掉U盘打开电源,等待一会看到这样的提示,说明机器内的eMMC已成功刷入Armbian 5.88。如果想正常关机,可以以root登录,密码为1234,进入后直接运行poweroff即可)
刷入5.10.y内核的Armbian
烧录Armbian镜像至U盘
我们再次打开BalenaEtcher,然后在选择文件的时候选择第二次刷机的镜像
接入设备至玩客云
我们把烧录好镜像的U盘插入玩客云里网口近的USB接口中,一并接入网线和电源,如图示

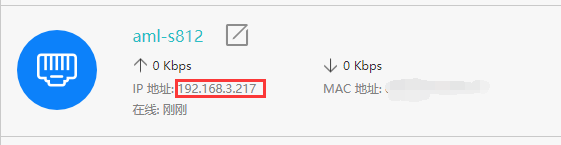
接上之后就打开电源,然后等待几分钟,去到路由器后台就可以看到玩客云机器的ip地址了。
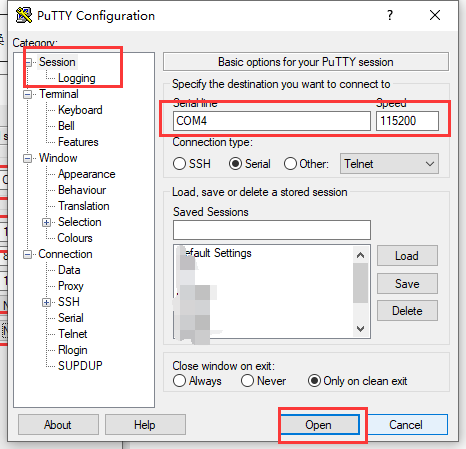
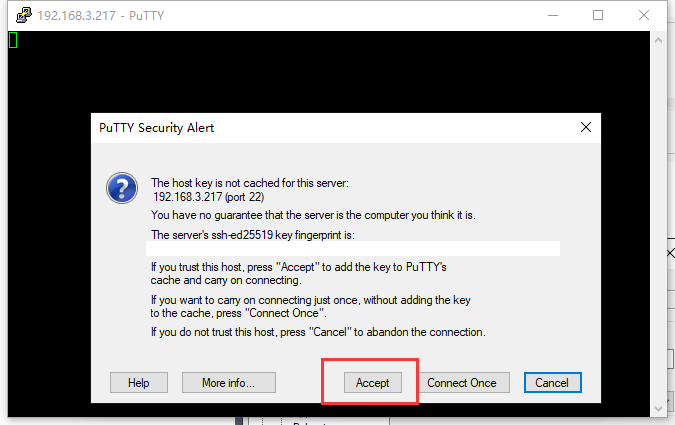
使用SSH登录玩客云
我们使用puTTY软件进行登录,如下面所示

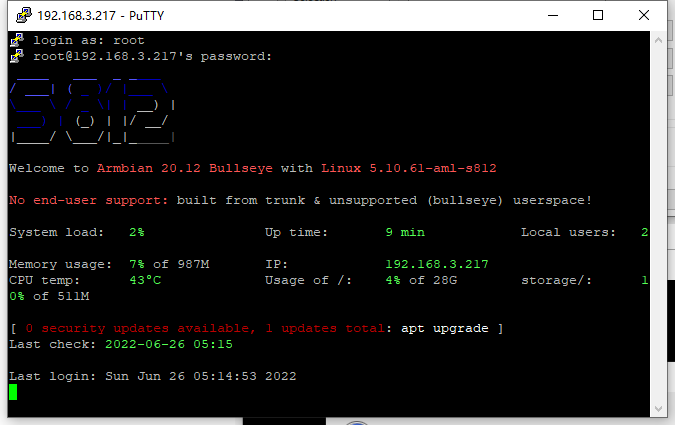
登录账户为root,登录密码为1234
登录后的一些设置
然后是新建root密码,我们输入自己喜欢的密码即可
[alert]请不要使用后退键,如果使用了请按两次回车然后重新设置一个[/alert]
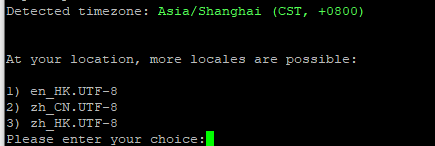
在接下来这一步我们输入1并回车,即选择en_HK.UTF-8
新建用户这里我们可以直接跳过(按Ctrl+C)

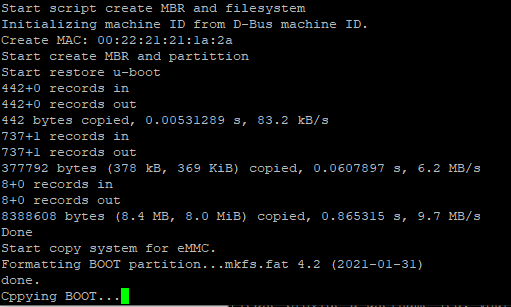
将系统刷入玩客云的eMMC
然后我们就运行如下命令
cd /boot/install
./install.sh
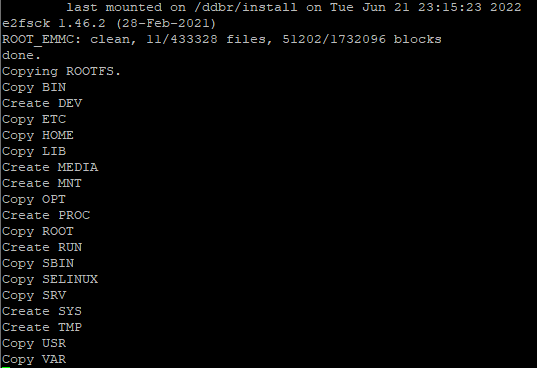
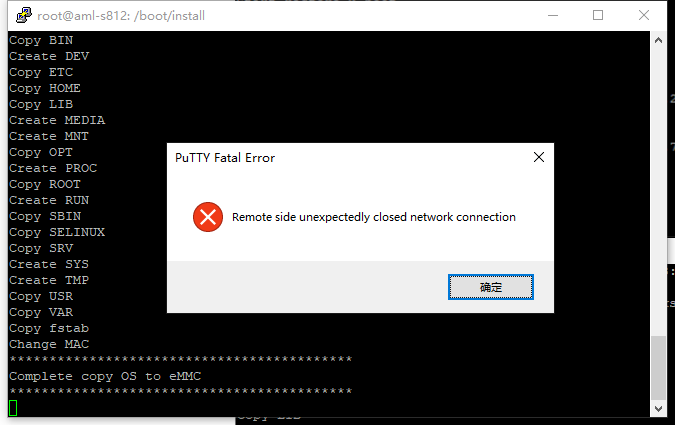
然后就会开始将系统搬进eMMC
完成刷机后会自动关机
然后我们关闭玩客云的电源,拔下U盘,然后再打开电源。
很快我们在路由器后台就可以看见玩客云上线了。

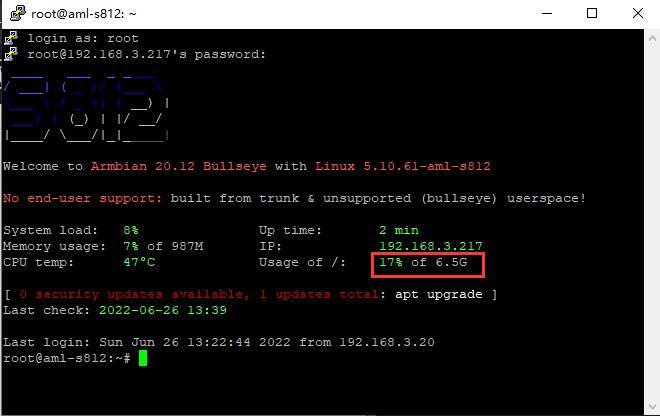
然后我们再次通过SSH登录玩客云
至此,我们将具备5.10.y内核的armbian刷入旧版玩客云的eMMC的教程就已经结束了!
ps:机器已经设置好了使用清华源,无需再进行换源操作。
刷好后的用途?
比如安装宝塔7.7,可以参考教程
Comments NOTHING